Raspberry Pi Pico: First Impressions
This MCU board is Raspberry's entry into the microcontroller game. I managed to get a few boards the day after the release and got a chance to solder on some pin headers and try to run some code on it.
The Raspberry Pi Silicon Pico board was recently released. It's a microcontroller board that retails for $4, with some pretty impressive specs for the price. When I read that it came out, I found that a store near me actually had 20 of them in stock and on sale at $2/board, so I jumped on the opportunity and picked up a few.
It appears to be listed here on Amazon, but I would not recommend buying it at the moment, as I see it listed at ~$14, which is a huge price gouge. It might be wise to wait a little while until the hype dies down to pick it up for $4.
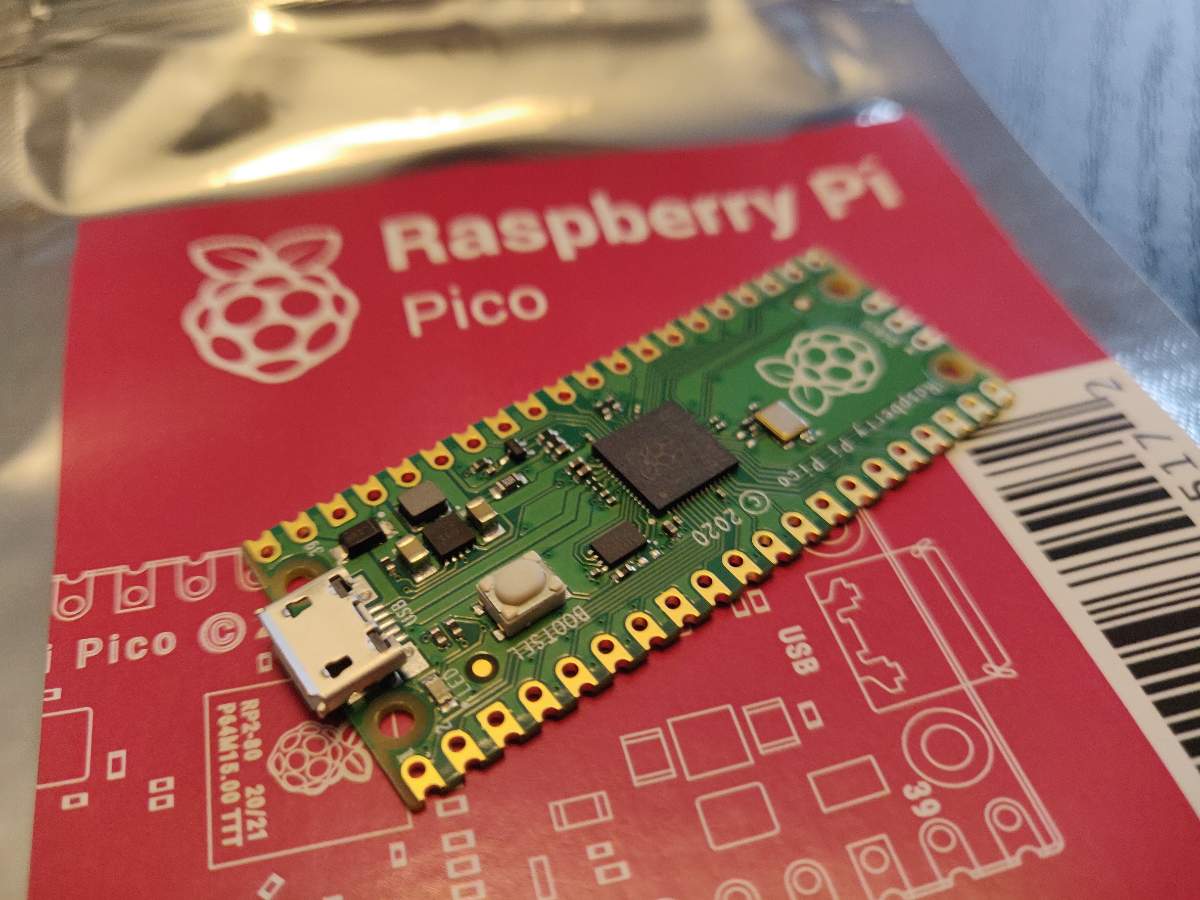
Raspberry Pi PicoUnlike the traditional Raspberry Pi SBCs, the Pico doesn't come in a cardboard box, but a simple baggie. It didn't come with any header pins, but I did have a bunch of header pins from my dupont connector set. It does seem like the header pins I had were extremely uneven, which you might have noticed in the photos. It would've been nice if they'd include a set.
Getting Started
After soldering on the pins and sticking it onto the breadboard, I was ready to try it out. I like that the Pico has a micro-usb connector, as I always have a micro-usb cable ready at my desk anyway to charge various devices. I plugged it in expecting for the LED to light up and... nothing. By default the LED won't light up as it does on most Arduino boards that are powered on.
When you're ready to start working with this board, please read the documentation! It'll save you so much time - this is not a plug and play Arduino IDE compatible board (at least not yet). If you're really impatient and just want to get something running on it ASAP - there are a couple binaries available for download on the front page of the documentation. Binaries for this board have a .uf2 extension. Hold down the BOOTSEL button on the board and then plug in the micro-SD cable and you should see a drive appear on your computer. Drag in the binary and the board will automatically reboot and run it.
Developing Apps for the Pico in C
I'll be writing this section from my perspective using macOS with Visual Studio Code (VSCode).
It's really important here to follow the instructions provided carefully. Raspberry Pi has provided an SDK and some development tools for building apps for this board, but it is very different from the "standard" developer experience for Arduino boards. Download and open up this guide and follow instructions for your OS.
In order to build an app, you'll need cmake and GNU Arm Embedded Toolchain. If you use macOS you can install this using brew, and it's really straightforward to do. If you are a VSCode user, the dev/build experience is really seamless.
After following the instructions, building is as easy as clicking "Build" on the blue status bar in VSCode. It is a bit annoying that you have to put the device into bootloader mode every time you want to reload a binary. I started out by building and loading the Blink app - and sure enough it worked!
I'm excited to try to build some interesting stuff with this board, and looking forward to seeing Arduino IDE support, which according to Tom's Hardware is being worked on.
Please note that I only link products that I have bought and tested myself, and some of the links above are Amazon affiliate links, which I earn a commission from (at no additional cost to the buyer).